
k-coding
tableView 그리고, searchBar 본문
searchBar
우리가 아는 흔한 어플리케이션과 프로그램에 있는 테이블뷰들은 대부분 검색창 즉 searchBar를 포함하고 있을것이다.
오늘은 테이블뷰에 서치바를 넣어서 검색이 가능하도록 해보겠습니다.
우선 정말 빠르게 테이블뷰를 한번 만들어 봅시다.
import UIKit

class ViewController: UIViewController, UITableViewDelegate, UITableViewDataSource {

    @IBOutlet weak var tableView :UITableView!

    let identifier: String = "cell"
    func tableView(_ tableView: UITableView, numberOfRowsInSection section: Int) -> Int {
        return nameArray.count
    }

    func tableView(_ tableView: UITableView, cellForRowAt indexPath: IndexPath) -> UITableViewCell {
        let cell = tableView.dequeueReusableCell(withIdentifier: identifier, for: indexPath)
        cell.textLabel?.text = nameArray[indexPath.row]

        return cell
    }


    let nameArray: [String] = ["최기훈","강명준","김두원","김만","김태영","박지용","유재우","이윤호","정세빈","정재균","조예진","조재현","최성원","최우성","하재은","황민우"]

    override func viewDidLoad() {
        super.viewDidLoad()
        // Do any additional setup after loading the view.

        self.tableView.delegate = self
        self.tableView.dataSource = self
    }


}
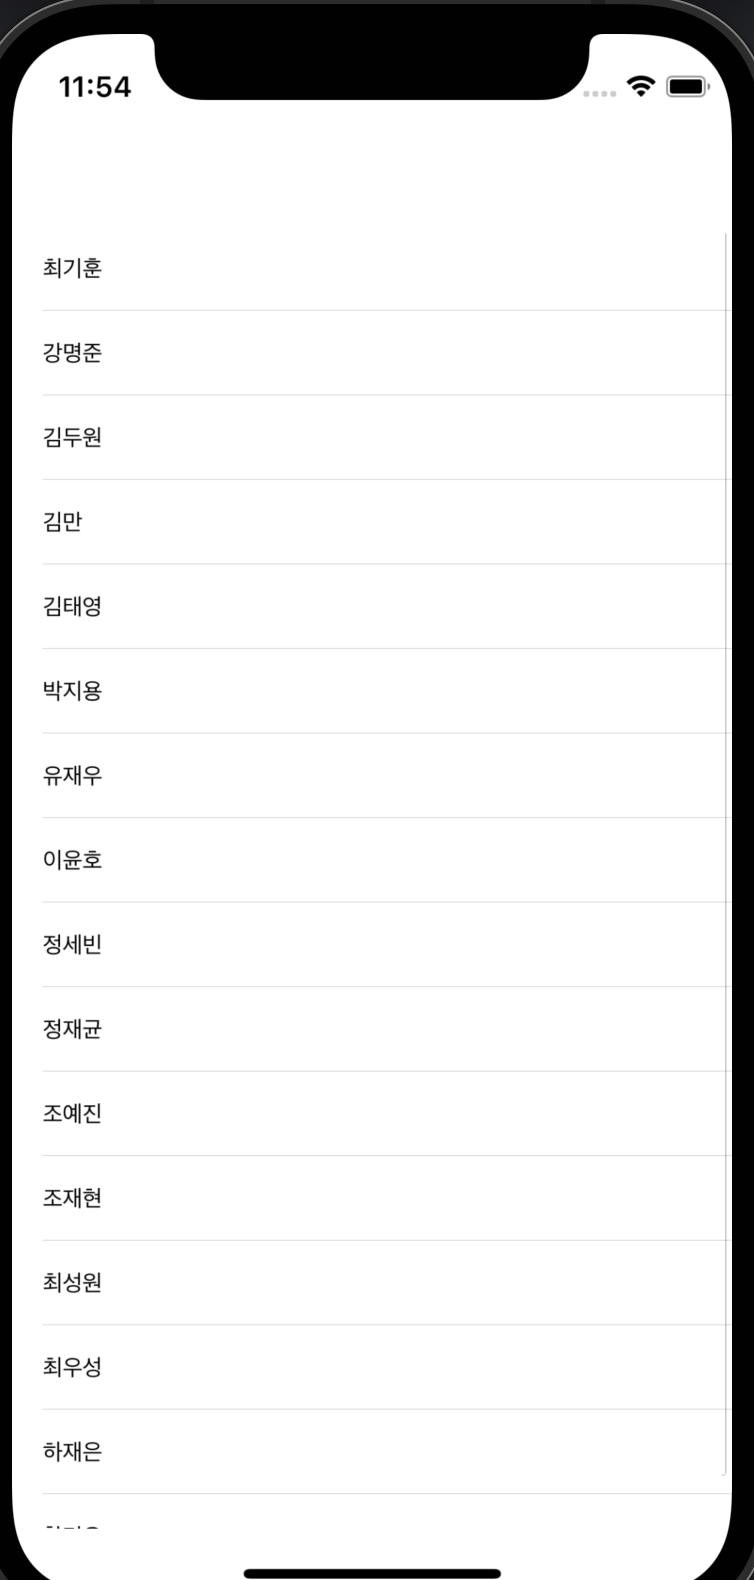
위 코드대로 작성했다면 아래와 같은 테이블뷰를 손쉽게 만들 수 있습니다!!
근데 이름이 너무 많다... 특정 사람을 찾고 싶은데 하나하나 보려니 눈이 아프고,,, 이럴 때 서치바를 넣어서 찾으면 어떨까?
우선 UI에 서치바를 넣어주고

하나 위에 똭 놔주고 ! 코드를 다음과 같이 추가해보자
import UIKit

class ViewController: UIViewController, UITableViewDelegate, UITableViewDataSource, UISearchBarDelegate {

    @IBOutlet weak var tableView: UITableView!
    @IBOutlet weak var searchBar: UISearchBar!
    var searchBarOn: Bool = false

    let identifier: String = "cell"


    let nameArray: [String] = ["최기훈","강명준","김두원","김만","김태영","박지용","유재우","이윤호","정세빈","정재균","조예진","조재현","최성원","최우성","하재은","황민우"]
    var filteredName: [String]!

    override func viewDidLoad() {
        super.viewDidLoad()
        // Do any additional setup after loading the view.

        self.tableView.delegate = self
        self.tableView.dataSource = self

        self.searchBar.delegate = self

        filteredName = nameArray
    }

    func tableView(_ tableView: UITableView, numberOfRowsInSection section: Int) -> Int {
        if searchBarOn {
            return filteredName.count
        }else {
            return nameArray.count
        }

    }

    func tableView(_ tableView: UITableView, cellForRowAt indexPath: IndexPath) -> UITableViewCell {
        let cell = tableView.dequeueReusableCell(withIdentifier: identifier, for: indexPath)
        if searchBarOn {
            cell.textLabel?.text = filteredName[indexPath.row]
        }else {
            cell.textLabel?.text = nameArray[indexPath.row]
        }

        return cell
    }

    func searchBar(_ searchBar: UISearchBar, textDidChange searchText: String) {

        filteredName = []

        if searchText == "" {
            filteredName = nameArray
            searchBarOn = false
        }else {
            searchBarOn = true
            for i in nameArray {
                if i.lowercased().contains(searchText.lowercased()){
                    filteredName.append(i)
                }
            }
        }
        self.tableView.reloadData()
    }


}
위에 새로 보인 메소드 "searchBar"메소드를 한번 파해쳐보자면 다음과 같다.
 var searchBarOn: Bool = false

 func searchBar(_ searchBar: UISearchBar, textDidChange searchText: String) {

        filteredName = []

        // searchBar가 비어있다면
        if searchText == "" {
            filteredName = nameArray
            searchBarOn = false
        }else {
        // searchBar에 텍스트가 들어있다면
            searchBarOn = true
            for i in nameArray {
            // nameArray 배열 안에서 지금 searchBar에 들어있는 텍스트가 포함된 인덱스를 찾아!
                if i.lowercased().contains(searchText.lowercased()){
                // filterdName이란 배열안에 넣을거야
                    filteredName.append(i)
                }
            }
        }
        self.tableView.reloadData()
    }
이렇게 입력을 다 했다면 다시 실행을 해보자

잘 실행되는것을 볼 수 있다.
지금까지 searchBar에 대하여 간략하게 알아보았습니다!
'iOS > Xcode' 카테고리의 다른 글
| Xcode CollectionView 콜랙션 뷰 ( 1 ) (0) | 2022.02.03 |
|---|---|
| User Default (0) | 2022.01.25 |
| 화면 전환 (2) | 2022.01.18 |
| Xcode 오토레이아웃 (AutoLayout) (4) (0) | 2022.01.13 |
| Xcode 오토레이아웃 (AutoLayout) (3) (0) | 2022.01.12 |
'iOS/Xcode' Related Articles
more


Comments